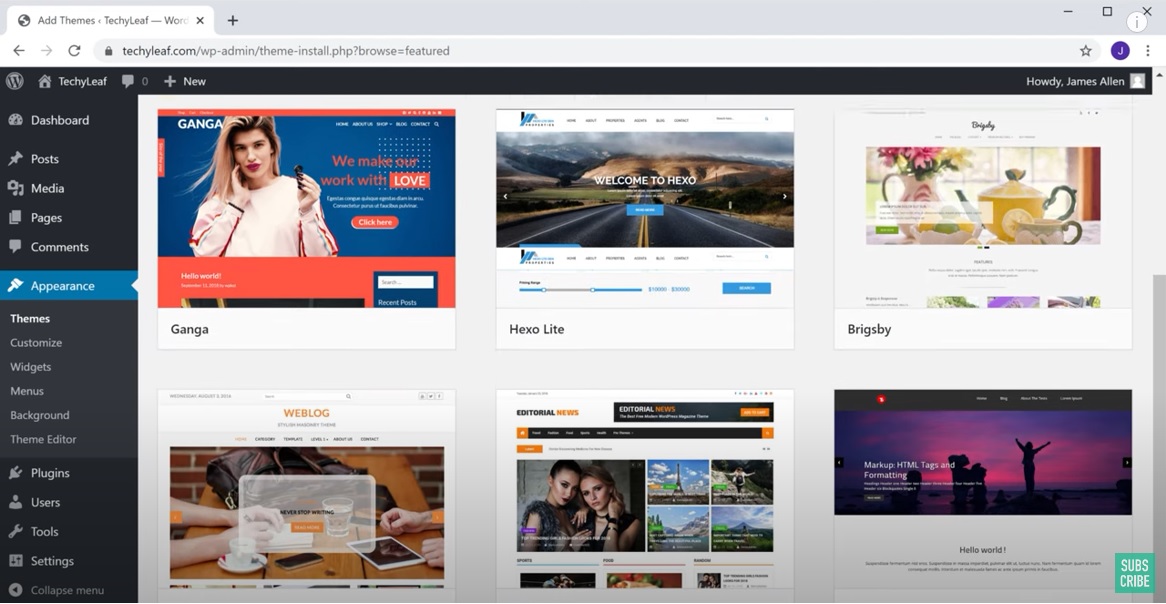
Using a WordPress template, also known as a theme, can greatly simplify the process of designing and building a website. WordPress templates are pre-designed layouts that can be customized to suit your needs, and they can be easily installed on your WordPress website. In this article, we will explore how to use a WordPress template on your website, step by step.
Step 1: Choose a WordPress Template
The first step in using a WordPress template on your website is to choose a template that fits your needs. There are many free and premium WordPress templates available, and you can browse and select them from the WordPress.org theme directory, third-party marketplaces such as ThemeForest or specialized theme websites. Look for templates that match the purpose and design of your website, and make sure to select one that is compatible with your version of WordPress.
Step 2: Download the Template
Once you have selected a WordPress template, you will need to download it to your computer. If you have selected a free template from the WordPress.org theme directory, you can download it directly from your WordPress dashboard. Simply navigate to the Appearance > Themes section, click the “Add New” button, search for the template, and click the “Install” button.
If you have purchased a premium template from a third-party marketplace or website, you will need to download it from the website where you purchased it. Usually, you will receive a zip file containing the template, which you can download to your computer.
Step 3: Install the Template
Once you have downloaded the WordPress template, you will need to install it on your website. To do this, navigate to the Appearance > Themes section of your WordPress dashboard, and click the “Add New” button. From there, click the “Upload Theme” button, select the zip file containing the template, and click “Install Now”. The template will be uploaded to your WordPress website and installed automatically.
Step 4: Customize the Template
After installing the WordPress template on your website, you can customize it to suit your needs. To customize the template, navigate to the Appearance > Customize section of your WordPress dashboard. From there, you can customize various aspects of the template, such as the colors, fonts, header, footer, and more. Some templates may also come with additional customization options, such as custom widgets or theme options.
Step 5: Add Content to Your Website
Once you have customized the WordPress template to your liking, you can start adding content to your website. To do this, navigate to the Posts or Pages section of your WordPress dashboard, and create new content by clicking the “Add New” button. From there, you can add text, images, videos, and other types of content to your website.
Step 6: Publish Your Website
After adding content to your website, you can preview it by clicking the “Preview” button in the WordPress editor. Once you are satisfied with your website, you can publish it by clicking the “Publish” button. Your website will now be live and accessible to the public.
Using a WordPress template on your website can greatly simplify the process of designing and building a website. By following these steps, you can easily install and customize a WordPress template to suit your needs, and start adding content to your website. Remember to select a template that matches the purpose and design of your website, and customize it to make it your own. With a little effort and creativity, you can create a professional and visually appealing website using a WordPress template.


